List Once.
Sell Everywhere.
Sell on exclusive marketplaces
Sell on 10 additional marketplaces
No additional selling account needed
No listing management required
We handle customer service
You get paid!
MoreCommerce collects personal information in relation to operating our site and services. We do not sell personal information, but it may be shared with third parties for certain business purposes. Please review our Privacy Policy for more information on the data we collect and your associated rights.
List Once.
Sell Everywhere.
Sell on exclusive marketplaces


Sell on 10 additional marketplaces


No additional selling account needed
No listing management required
We handle customer service
You get paid!
Sell everywhere with MoreCommerce. When you list with us, not only do your listings go up on our owned and operated marketplaces, but you’ll also get access to our extensive partner network of major brand name shopping destinations. More than 30,000 rockstar sellers trust MoreCommerce to help them sell over a billion dollars annually. Come join us and start earning.
Sign Up
 ...
...
IMPORT an unlimited number of products with our easy to use import tools.
Or import from another store » ...
...
PRICE your products for retail. You control how much you get paid.
Learn about our pricing » ...
...
LIST your products on up to
14 major marketplaces.
 ...
...
SELL more. Manage orders and process shipments from one intuitive dashboard.
Hear from our sellers »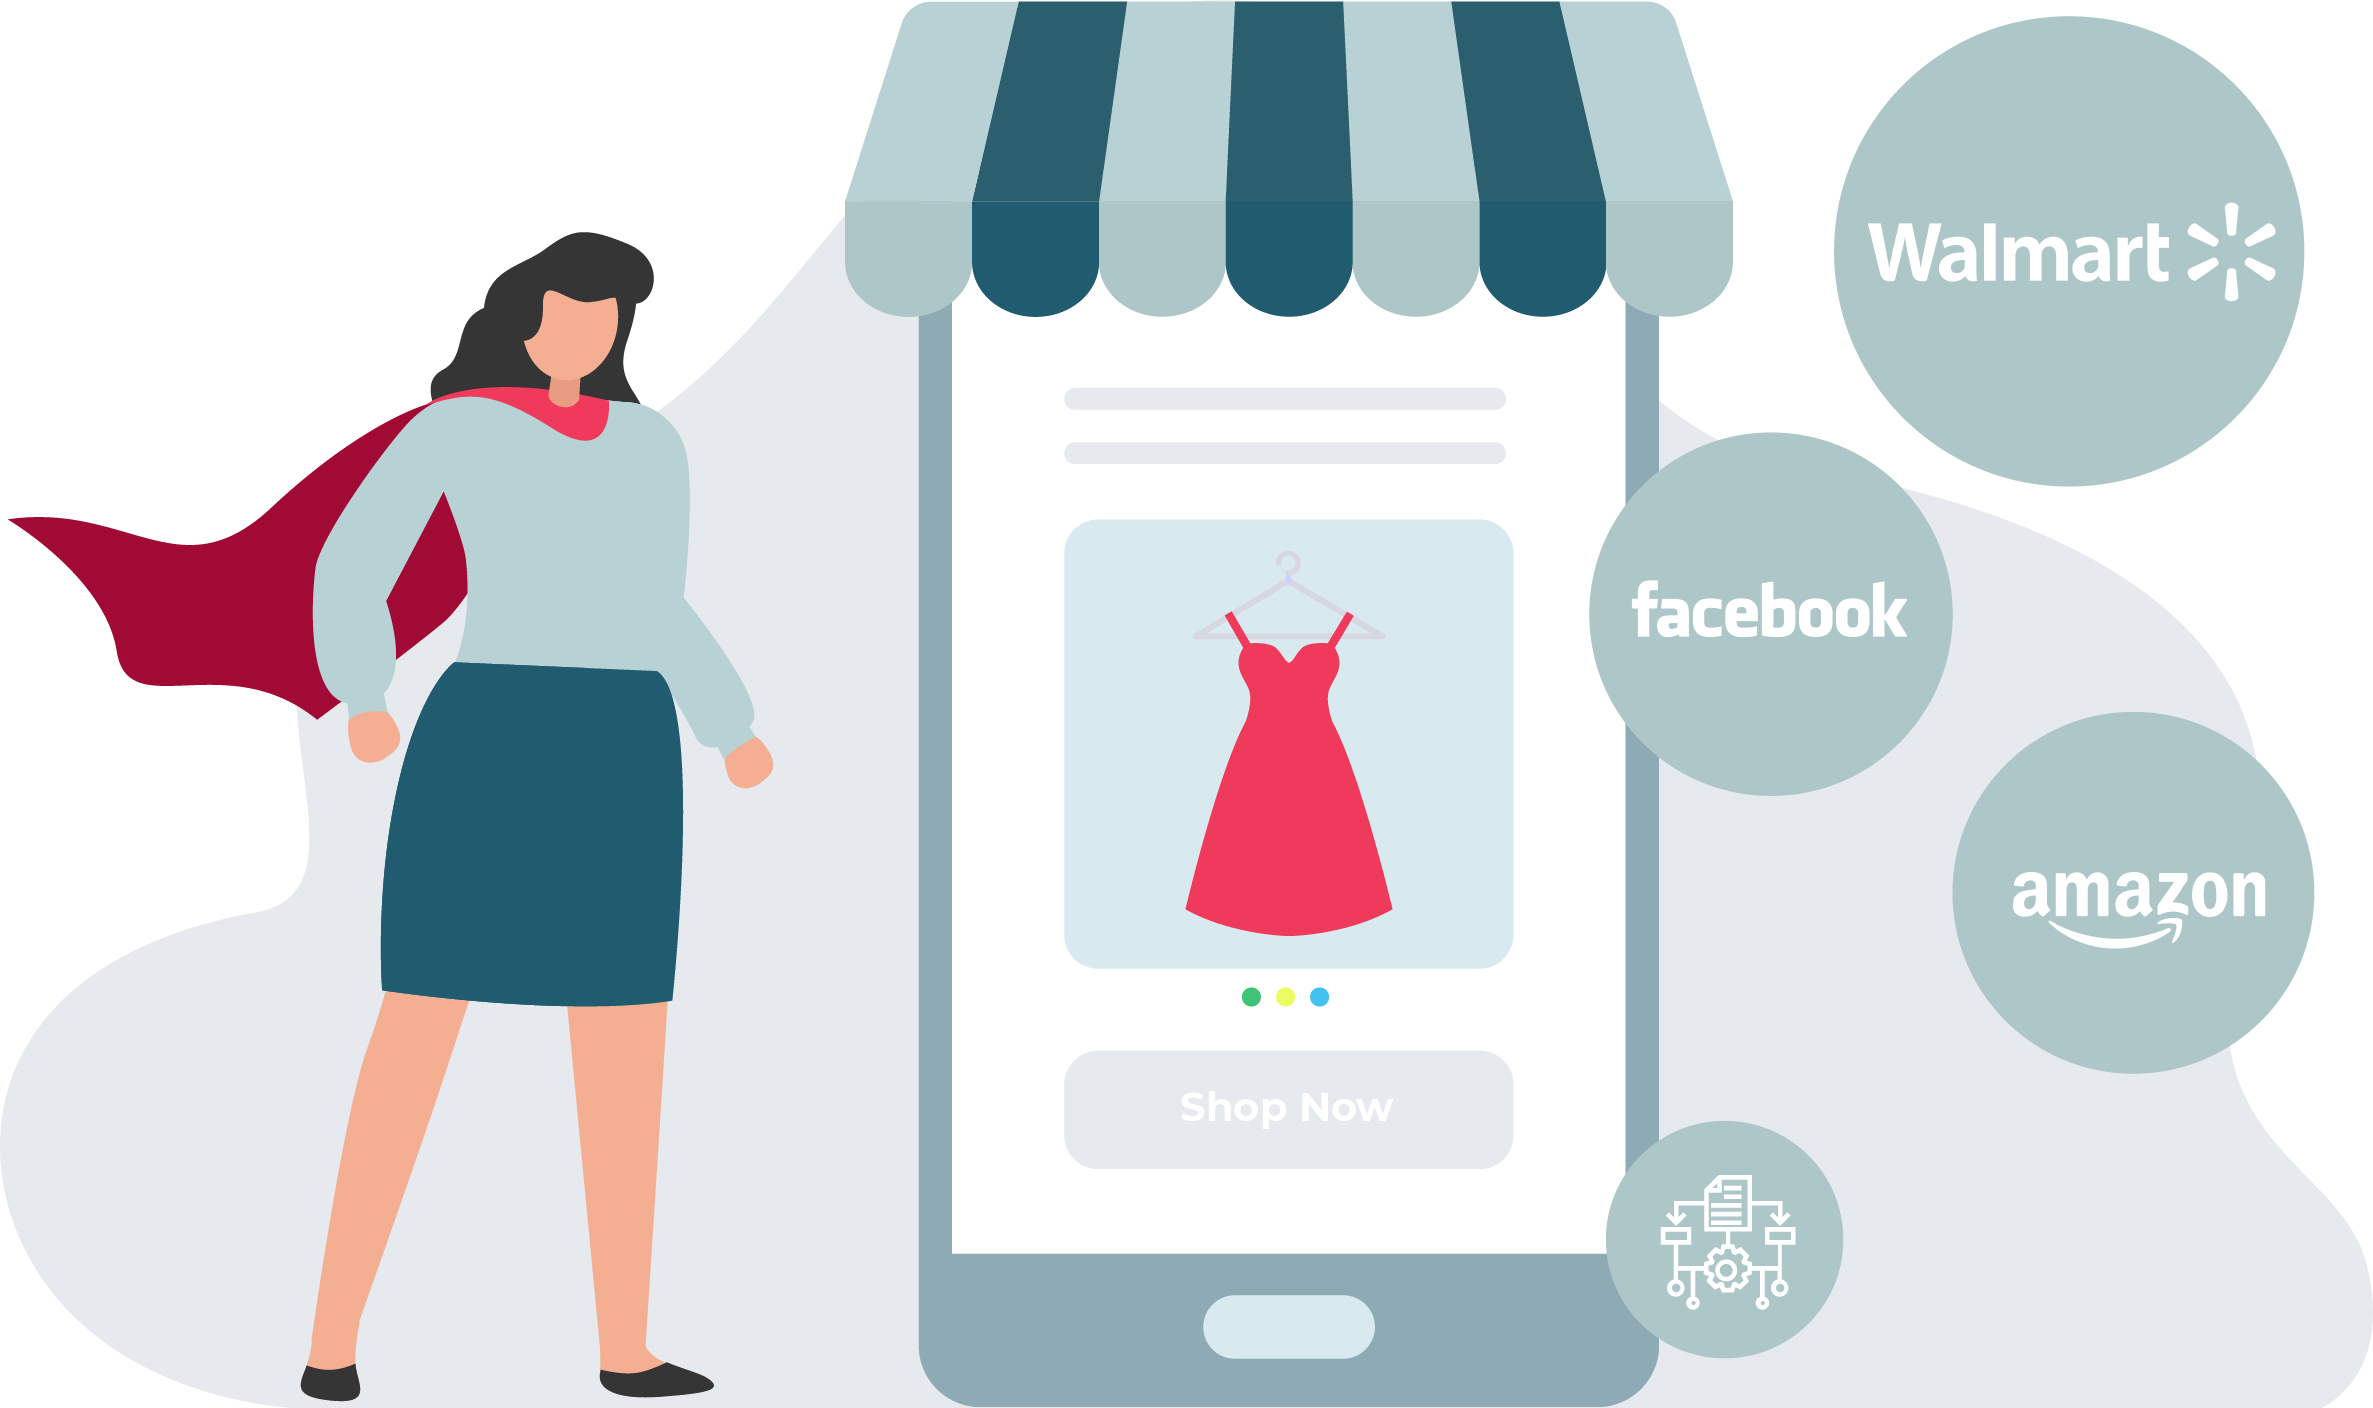
Over the last 20 years, we've built sophisticated technology to match sellers' products with interested customers.
We've partnered with major marketplaces to let you list your products without hassles, confusion, or fees.
MoreCommerce gives you an edge to compete with major retailers and other businesses.
Read Our Story